Teleport
Teleport è un bel progetto per gestire in maniera intelligente le connessioni verso i nostri server linux.

Teleport è una soluzione opensource per amministrare utenti e connessioni ssh in modo semplice e veloce.
Installazione Auth e Proxy
Per velocizzare ancora di più l’installazione e la configurazione utilizzeremo docker-compose.
docker-compose.yaml
version: '2'
services:
  configure:
    image: quay.io/gravitational/teleport:5.0
    container_name: teleport-configure
    entrypoint: /bin/sh
    hostname: tele.marvinpascale.it
    command: -c "if [ ! -f /etc/teleport/teleport.yaml ]; then teleport configure > /etc/teleport/teleport.yaml; fi"
    volumes:
      - ./config:/etc/teleport

  teleport:
    image: quay.io/gravitational/teleport:5.0
    container_name: teleport
    entrypoint: /bin/sh
    hostname: tele.marvinpascale.it
    command: -c "sleep 1 && /bin/dumb-init teleport start -c /etc/teleport/teleport.yaml"
    ports:
      - "3023:3023"
      - "3024:3024"
      - "3025:3025"
      - "3080:3080"
    volumes:
      - ./config:/etc/teleport
      - ./data:/var/lib/teleport
    depends_on:
      - configure
Una volta creato il file docker-compose.yml avviamo i due container
# docker-compose up -d
Il container “config” avrà creato il templeate per teleport:
./config/teleport.yaml
teleport:
  nodename: <your-fqdn>
  data_dir: /var/lib/teleport
  auth_token: <your-auth-token>
  auth_servers:
  - 127.0.0.1:3025
  log:
    output: stderr
    severity: INFO
  ca_pin: sha256:ca-pin-hash-goes-here
auth_service:
  enabled: "yes"
  listen_addr: 0.0.0.0:3025
  public_addr: <your-fqdn>:3025
  tokens:
  - proxy,node:<token>
  license_file: /path/to/license-if-using-teleport-enterprise.pem
ssh_service:
  enabled: "yes"
  labels:
    db_role: master
    db_type: postgres
  commands:
  - name: hostname
    command: [/usr/bin/hostname]
    period: 1m0s
  - name: arch
    command: [/usr/bin/uname, -p]
    period: 1h0m0s
proxy_service:
  enabled: "yes"
  listen_addr: 0.0.0.0:3023
  public_addr: <your-fqdn>
  ssh_public_addr: <your-fqdn>
  web_listen_addr: 0.0.0.0:3080
  tunnel_listen_addr: 0.0.0.0:3024
Per verificare lo stato:
# docker-compose exec teleport tctl status
Aggiunta utente e primo accesso
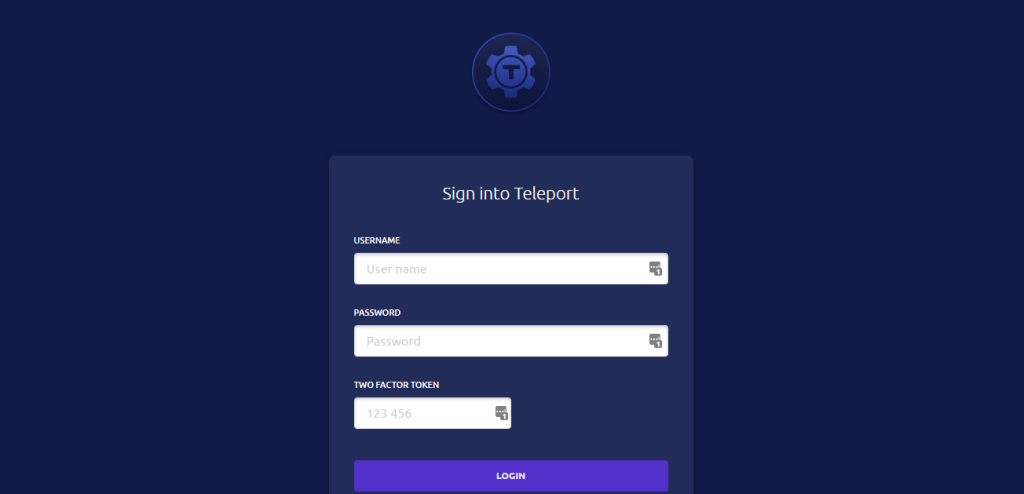
Ora creeremo un utente sul server di autenticazione teleport. Ogni utente di teleport deve avere una corrispondenza con uno o più utenti linux.
docker-compose exec teleport tctl users add teleport root,marvin,vagrant
Il comando genererà un token di accesso con il quale si potrà terminare l’attivcazione.
Ora l’utente teleport portà impersonificare gli utenti: root, marvin e vagrant.

Aggiunta di nodi
# docker-compose exec teleport tctl nodes add
Sul nodo sarà necessario installare l’agent teleport. Su una debian based ad esempio
# wget https://get.gravitational.com/teleport_4.3.7_amd64.deb
# dpkg -i https://get.gravitational.com/teleport_4.3.7_amd64.deb
Configuriamo l’agent editando il file /etc/teleport.yaml
teleport:
  nodename: teleport-node-1
  data_dir: /var/lib/teleport
  auth_token: <your-auth-token>
  auth_servers:
    - <your-fqdn>:3025
  log:
  output: stderr
  severity: INFO
  ca_pin: <your-ca-pin-hash>
auth_service:
  enabled: no
ssh_service:
  enabled: yes
proxy_service:
  enabled: no
# systemctl enable --now teleport
nb: nel caso in cui non sia possibile esporre direttamente il server è possibile utilizzare un reverse tunnel.
Le opinioni in quanto tali sono opinabili e nulla ti vieta di approfondire l’argomento.
Risorse:
